
How to Apply a Ceramic Coating at Home: Step-by-Step Guide (2026)
DetailCompare is reader-supported. When you buy through links on this page, we may earn an affiliate commission at no extra cost to you. Prices noted were accurate as of September 2026 — click through for current pricing.
Ceramic coatings used to mean a full-day appointment with a professional installer and a bill north of $600. The current generation of spray-on and wipe-on ceramic products changes that math: they use the same SiO2 (silica) or graphene-oxide chemistry a shop applies from a bottle, just reformulated to level and bond without a climate-controlled bay. A DIY spray coating won’t outlast a multi-layer professional application, but done correctly it delivers genuine hydrophobic protection, real gloss, and an easier wash routine for months — sometimes years — for the price of a few bottles and an afternoon.
This guide walks through the whole process in order: decontaminating the paint so the coating actually bonds, stripping the residue that causes most DIY coating failures, choosing a product that matches your skill level and budget, applying it correctly, and maintaining it so it lasts as long as the label promises.
What You'll Need
- Iron remover: Turtle Wax Rapid Decon Iron Remover
- Clay mitt: AutoCare Fine Grade Clay Bar Mitt
- Coating prep spray: Gyeon Prep Coating Prep Spray
- A ceramic coating: See the three options in Step 3
- Maintenance detailer: Gyeon Ceramic Detailer
Step 1: Wash and Decontaminate First
A ceramic coating bonds to the clear coat itself — not to whatever is sitting on top of it. Skip this step and you’re sealing in bonded iron particles, tar, and swirl-inducing grit, then wondering months later why the coating is failing in patches. Start with a normal two-bucket wash, then run an iron remover like the Turtle Wax Rapid Decon above over the whole car; it bleeds purple as it dissolves embedded brake dust and rinses away clean.
Follow with a clay mitt on well-lubricated paint to shear off whatever’s left — tree sap, industrial fallout, anything that still feels gritty under your fingertips after washing. The AutoCare Fine Grade mitt is a forgiving, budget entry point for a first-timer. Paint should feel completely glass-smooth before you move on. If it doesn’t, the coating won’t either.
Step 2: Strip Every Trace of Residue
This is the step most DIY coatings skip, and it’s the most common reason they fail early. Washing and claying remove dirt, but they leave behind polish oils, wax residue, and the natural oils from your hands — all of which sit between the paint and the coating and block adhesion. A dedicated coating prep spray strips all of it in a single isopropyl-alcohol-based wipe, leaving a surface a coating can actually key into.
Gyeon Prep Coating Prep Spray (1 L)

Gyeon Prep is built specifically for this one job: spray it on, wipe it off with a clean microfiber, and it lifts residual oils and polish film that a regular wash never touches. It’s formulated to work with any coating brand, not just Gyeon’s own.
Work one panel at a time and use a fresh towel face often — you’re trying to leave the surface cleaner than it’s been since it left the factory, and reusing a dirty towel just redeposits what you wiped off.
- Removes oils and polish residue that block coating adhesion
- 1 liter bottle covers a full vehicle several times over
- Works with any ceramic coating brand
- Can streak on dark paint if you don’t work quickly
- Needs to be applied right before coating, not days ahead
Step 3: Pick the Right Coating for Your Skill Level
Not every ceramic product is the same commitment. The three below sit at different points on the ease-versus-durability curve, and all three are legitimate SiO2 or graphene-oxide chemistry rather than a wax dressed up in ceramic marketing.
| Product | Price | Format | Rated Durability | Best for |
|---|---|---|---|---|
| Griot's Garage Ceramic 3-in-1 Wax | Under $20 | Spray-on, wipe-off | Several months | First-timers who want ceramic beading with zero learning curve |
| Turtle Wax Hybrid Solutions Ceramic Spray | $20–50 | Spray-on, rinse-off | Several months | Anyone who wants a true SiO2 coating without any buffing |
| Adam's Graphene Ceramic Spray Coating Kit | $50–100 | Spray, level, buff (kit) | 18+ months | Detailers ready to level a coating properly for real longevity |
The Three Options, In Detail
Griot's Garage Ceramic 3-in-1 Wax
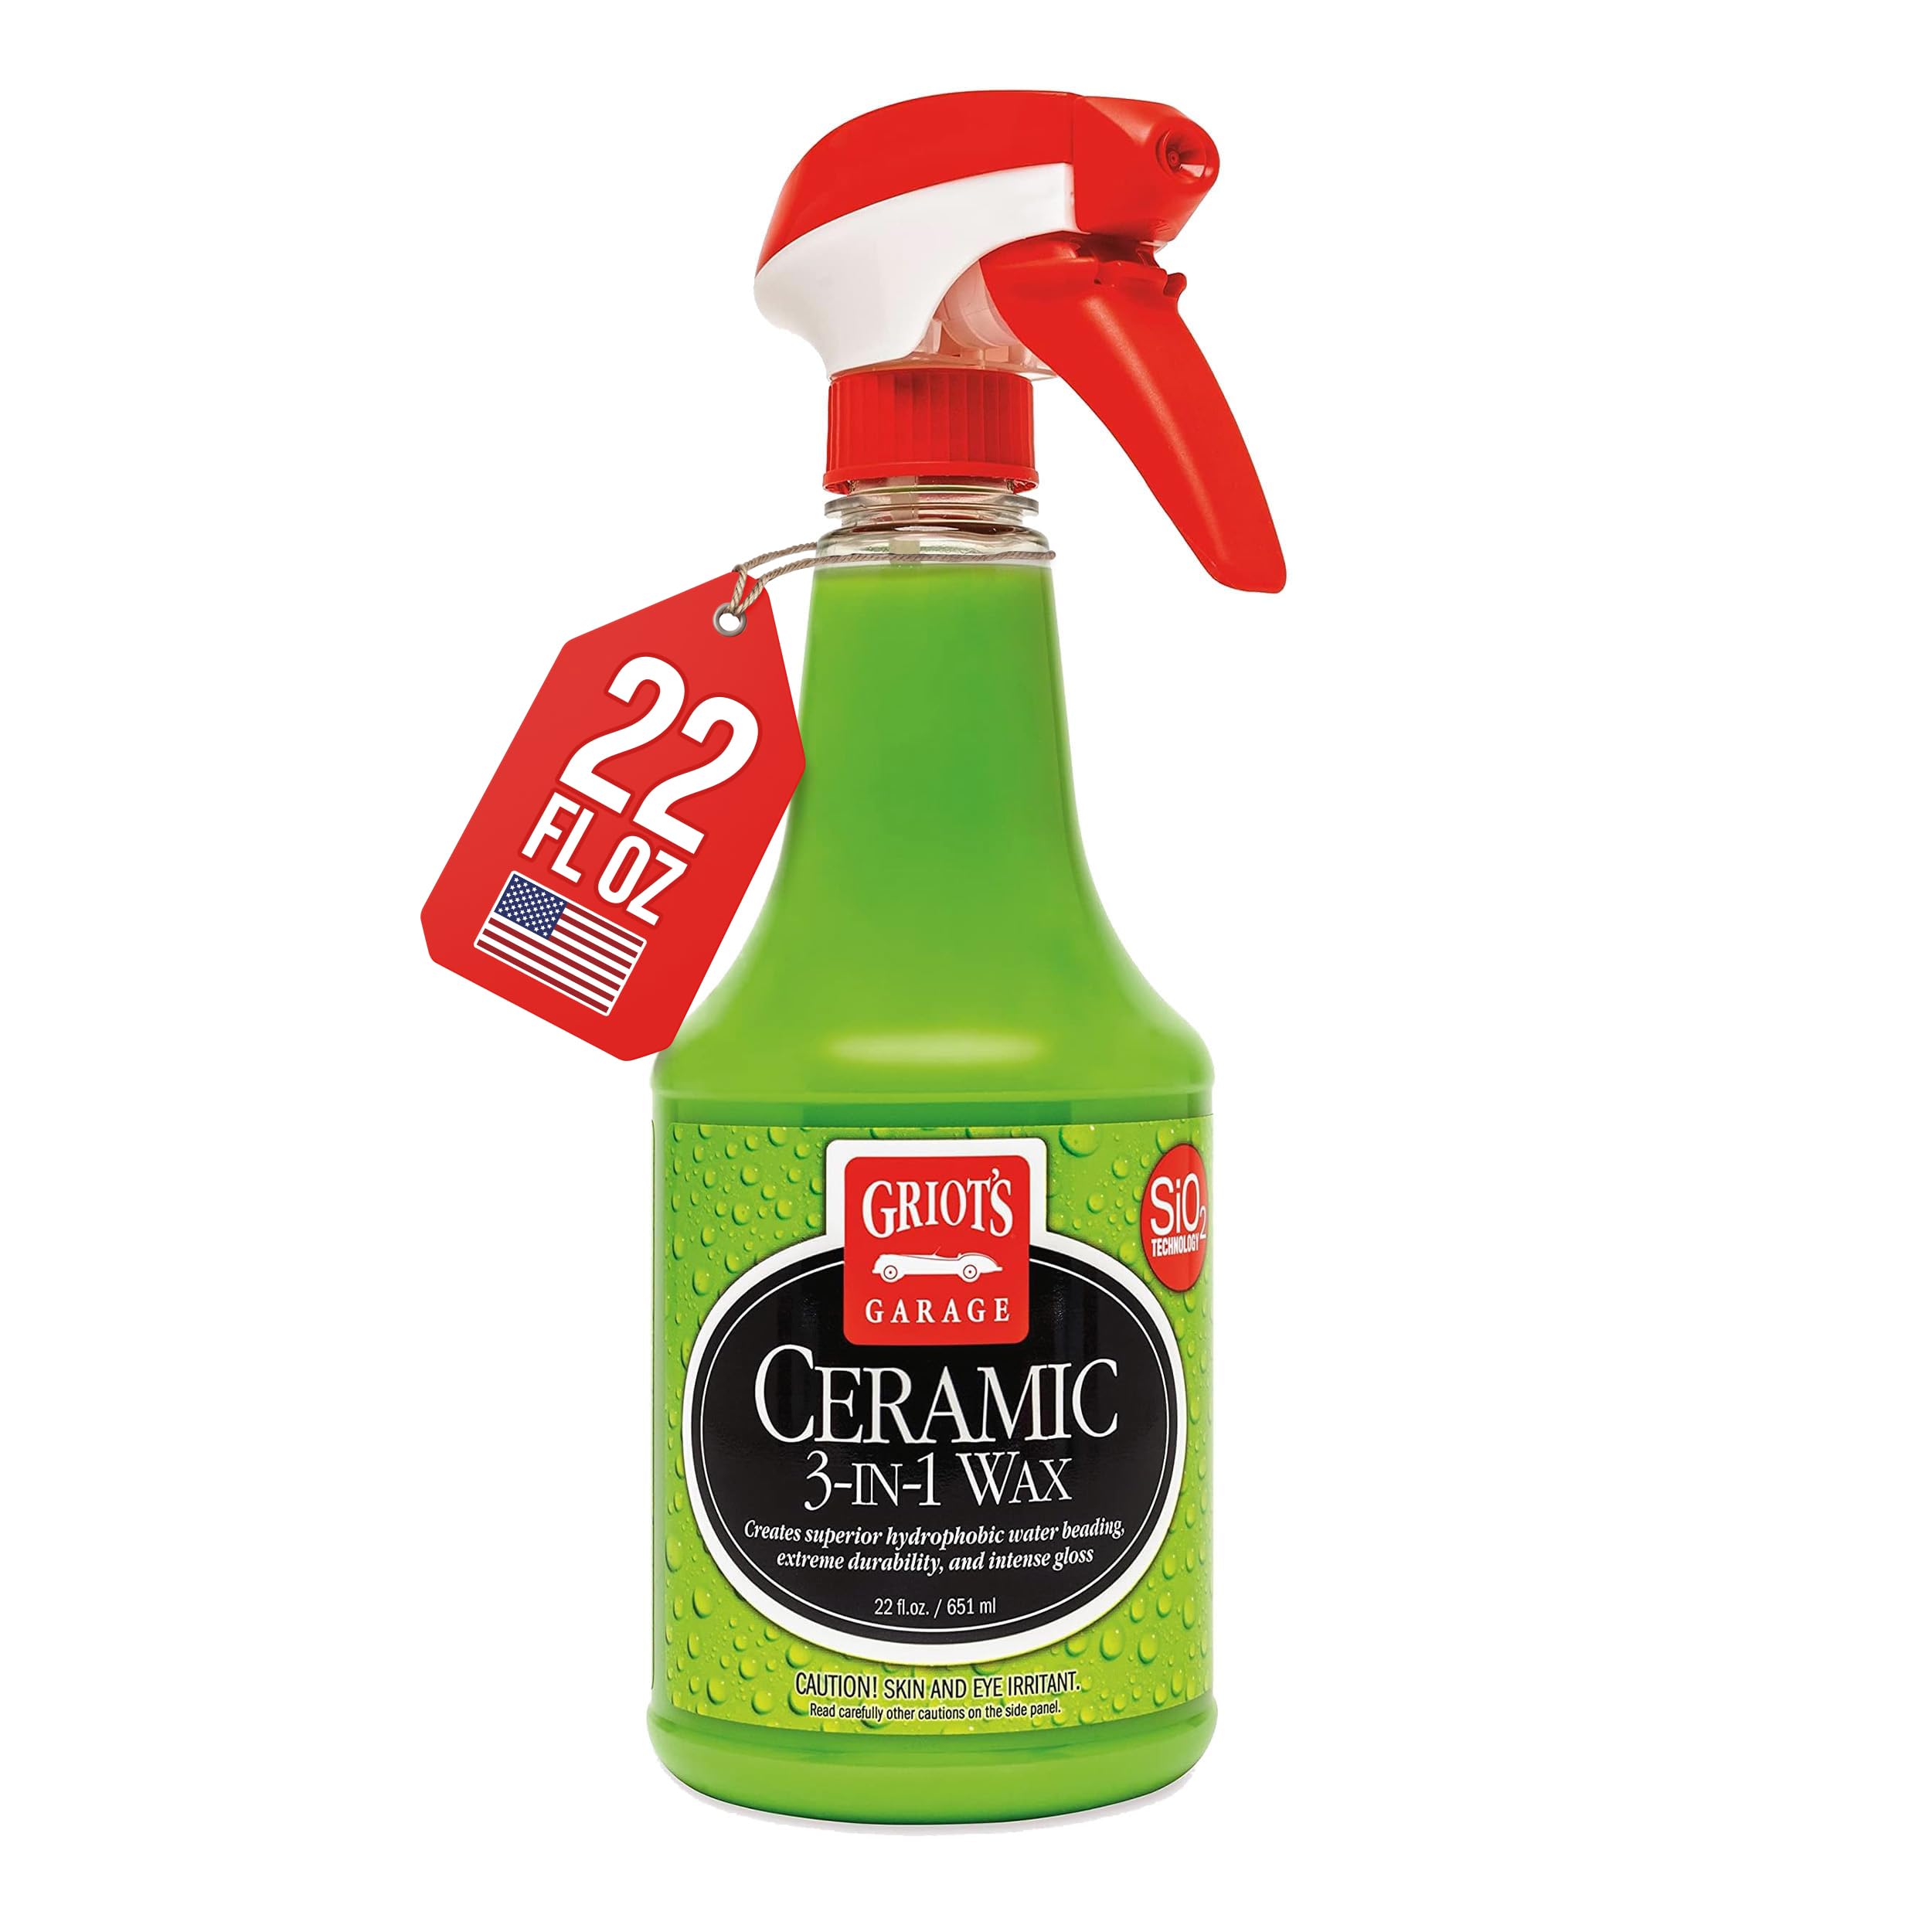
This is the lowest-friction way to get real ceramic beading on a car: spray it on a panel, spread it thin, wipe it off. There’s no leveling technique to learn and no flash-time countdown to watch — it behaves like a spray wax while adding the SiO2 hybrid chemistry underneath.
It won’t match a dedicated coating kit for longevity, but as a first project or a yearly refresh over an existing coating, it’s hard to get wrong.
- Hybrid SiO2 formula outlasts a traditional wax
- Spray-on, wipe-off — no special technique required
- Safe on paint, trim, wheels, and chrome
- Not as durable as a dedicated coating kit
- 22 oz bottle needs multiple applications on larger vehicles
Turtle Wax Hybrid Solutions Ceramic Spray Coating

Where the Griot's product behaves like a wax, this one is a genuine spray-on, rinse-off ceramic coating — you mist it over wet paint after washing and rinse it off, and it leaves real hydrophobic protection behind without ever needing a dry buff.
It’s the pick for someone who wants legitimate SiO2 chemistry but has no interest in learning panel-by-panel leveling technique. Just don’t apply it in direct sun, where it can flash and streak before the rinse.
- Genuine SiO2 protection at a budget price
- Rinse-off application — no buffing needed
- Strong water beading and a real gloss boost
- Durability measured in months, not years
- Streaks if applied in direct sunlight
Adam's Advanced Graphene Ceramic Spray Coating Kit

This is the closest a spray product gets to professional-coating territory: graphene-oxide chemistry rated well past a year of protection, sold as a complete kit with the applicators and towels you need to level it correctly.
The tradeoff is technique — you have to work in small sections, level the product evenly, and buff before it fully flashes, or you’ll fight high spots later. Follow the included instructions on timing exactly and it rewards the extra care with a coating that shrugs off water spots for well over a year.
- 18+ months of rated protection from a spray format
- Graphene oxide meaningfully reduces water spotting
- Complete kit — applicator and towels included
- Requires careful, even leveling to avoid high spots
- Costs more than the two options above
Step 4: Application Technique
Whichever product you choose, the fundamentals are the same. Work in the shade on a cool panel — direct sun or a hot hood flashes the product before you can level it. Apply a thin, even coat in a cross-hatch pattern rather than one direction, using the applicator or towel the product recommends. For a true coating (not a rinse-off spray), watch for the flash point the label describes — usually a faint rainbow sheen — and buff it off with a clean, dry microfiber before it goes past that window. Work one section at a time on a full vehicle; trying to coat an entire car before buffing anything is how high spots and streaking happen.
Less is more here. A thin, even layer levels itself into a flawless finish; a thick one creates high spots that show up as smudges or rainbow streaking once cured, and the only fix is polishing them back out.
Step 5: Let It Cure Before the First Wash
Spray coatings typically need 24–48 hours to cure enough to survive light contact, and up to a week to reach full hardness and water resistance. Check the label for the exact window, but as a rule: keep the car out of rain and away from sprinklers for at least the first day, and hold off on any wash — even a rinse — until the cure period the product specifies has passed. Curing too early is the second-most-common reason a fresh coating underperforms, right behind skipping decontamination.
Step 6: Maintain It
A coating doesn’t need much upkeep, but it does need the right upkeep. Stick to pH-neutral car soap — anything acidic or alkaline strips SiO2 faster than normal wear does — and boost the hydrophobic layer every few weeks with a coating-safe detailer spray instead of a wax, which can interfere with how the coating sheets water.
Gyeon Ceramic Detailer

This is a quick detailer built specifically to sit on top of an existing ceramic coating rather than compete with it: a light mist and a wipe restores gloss and beading between washes without adding a conflicting layer of chemistry.
It has limited benefit on bare, uncoated paint — save it for maintaining the coating you just applied, and reach for a general quick detailer the rest of the time.
- Refreshes gloss and beading on coated paint in minutes
- Safe on paint, glass, and trim
- Extends the working life of any ceramic coating
- Limited benefit on uncoated paint
- Smaller bottle means more frequent repurchasing
Common Mistakes to Avoid
- Coating over contamination — sealing in bonded iron and grit locks in defects and causes early failure.
- Skipping the prep wipe — leftover wax or hand oils are the single biggest cause of a coating that beads for two weeks and then quits.
- Applying in direct sun or on a hot panel — the product flashes before you can level it, leaving streaks.
- Too much product per section — a thick layer creates high spots; thin and even always wins.
- Washing before the cure window ends — even a gentle rinse too early can disrupt the bond before it hardens.
Frequently Asked Questions
How long does a DIY spray ceramic coating actually last?
It depends on the product: hybrid spray waxes like Griot's 3-in-1 last a few months, true spray coatings like Turtle Wax Hybrid Solutions run similar, and a leveled graphene kit like Adam's can carry 18 months or more. All of them beat a traditional wax's four-to-six-week lifespan by a wide margin.
Do I need to strip old wax before applying a ceramic coating?
Yes. Wax and sealant residue block adhesion the same way oils do, which is exactly what the prep spray in Step 2 is for. If you're coming off a heavily waxed car, an extra decontamination pass is worth the time.
Can I apply a ceramic coating over an existing coating?
Generally yes, as long as the surface is properly washed and prepped first — most spray coatings are designed to top up or refresh an existing layer rather than fight it. What you shouldn't do is layer a wax over a coating, since the oils in most waxes can interfere with how the coating sheets water.
What's the real difference between a ceramic spray wax and a true ceramic coating?
A ceramic spray wax, like the Griot's 3-in-1, blends SiO2 into a wax-like carrier for an easy wipe-on application and a few months of protection. A dedicated spray or kit coating uses a higher concentration of ceramic chemistry with a specific leveling and cure process, trading extra technique for meaningfully longer durability.
Do I need a full kit, or can I buy separate products?
Either works. A kit like Adam's bundles the applicators and towels you need at the right thickness and absorbency, which is convenient for a first attempt. If you already own quality microfiber and foam applicators, buying just the coating and using your own supplies works just as well.
Where to Go Next
See how the coating options above stack up against every other ceramic product on the market in our full ceramic coating buying guide, or back up a step with our iron remover and clay bar alternative guides if decontamination is new to you. New to detailing altogether? Start with the complete beginner's guide.